Fall is my favorite season! When I saw the Spectrum pad in the
annual catalog, I knew I had to have it to make fall cards. I inked my pad
with Crushed Curry, Pumpkin Pie, Mossy Meadow, Blackberry Bliss, and Cajun
Craze. As you can see, I went a little crazy stamping all sorts of leaves!! It
was a lot of fun to mix and match stamps from different sets. In the samples below,
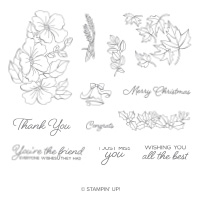
I used the limited-edition Color Your Season bundle, Rooted in Nature bundle
and Color Seasons stamps and coordinating dies.
Card #1

Card
#2

Card
#3

The first thing that I did after inking my Spectrum pad was putting direct to paper and dragging it across to make stripes. I like the end result, but it took several passes to cover! I think glossy or shimmery white paper would work better and use less ink. When stamping some of the leaves, I misted the stamp after inking it to help blend the color. I like the effect when I was able to get a super fine mist which keeps the detail of the stamp while allowing the colors to blend more. I used the speckle stamp from the Waterfront set to emboss gold specks on the leaves. It is hard to see in the picture, but I layered vellum, then a gold strip, and then tied these with twine and topped it with the gold embossed sentiment. To tie the gold together, I matted the card with gold foil. The card was still missing something, so I added the little flourish accents from the new Stitched Seasons dies. So far, this card is my favorite using the Spectrum Pad. Please leave me a comment below to tell me which is your favorite!
Card
#4

This card did not turn out as I envisioned. It is the result of a lot of trial and error. The Rooted in Nature stamp set is one of my favorites in the new catalog. It is the whole reason that I inked my Rainbow Spectrum Pad with fall colors. The trees were lovely stamped in autumn colors. I wanted a trifold card that revealed a forest changing color. I used the Stitched Seasons large die to frame my forest. I used the Waterfront stamp set to ground my trees and painted a Balmy Blue wash for sky. To create depth, I stamped off some trees in the distance. Then I layered the die cut images over this by gluing two directly on the card and then popping the center tree on Dimensionals. The card opens upward and then down for the trifold effect. I used the trunk on the center tree to keep the frame in place. It worked perfectly. My issue was the frame took so much card stock that my card was not functioning the way I wanted. So, I cut it down and attached it to another base and made a stand so the card will stay upright when closed. It was definitely a challenge, but all in all it didn't turn out too bad!


Don't miss out on the Color Your Season Limited Time Products!

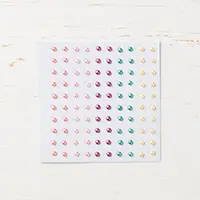
I am in love with the new Belnded Seasons bundle! It is so versatile. It covers birthdays, holidays, weddings, all occasion - the possiblities are endless. Have you been hoping for more colors of watercolor pencils? This offer includes a new set of pencils in 10 fabulous colors. These products are only available in August while supplies last - get yours today!
Bonus Days are back!!!

For every $50 you spend in August, you will earn $5 to spend in September! What a great way to save on all the new items in our Holiday catalog!!
Product List


Ink
- Crushed Curry Classic Stampin' Ink Refill [131158] $3.75
- Pumpkin Pie Classic Stampin' Ink Refill [105229] $3.75
- Mossy Meadow Classic Stampin' Ink Refill [133651] $3.75
- Blackberry Bliss Classic Stampin' Ink Refill [133648] $3.75
- Cajun Craze Classic Stampin' Ink Refill [119790] $3.75
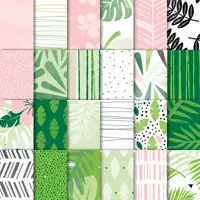
- Wood Textures Designer Series Paper Stack [144177] $11.00
- Nature's Poem Designer Series Paper [146338] $11.00
- Gold Foil Sheets [132622] $4.00
- Vellum 8-1/2" X 11" Card Stock [101856] $9.00
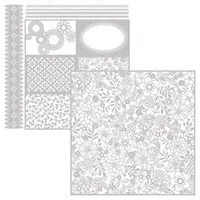
- Share What You Love Specialty Designer Series Paper [146926] $27.00
- Cajun Craze 8-1/2" X 11" Card Stock [119684] $8.50
- Crushed Curry 8-1/2" X 11" Card Stock [131199] $8.50
- Mossy Meadow 8-1/2" X 11" Cardstock [133676] $8.50
- Heat Tool [129053] $30.00
- Stampin' Spritzer [126185] $3.00
- Pattern Party Decorative Masks [144103] $6.00
Accessory