In January our team participated in a Prize Patrol tic-tac-toe challenge where we had to create a card or project that used specific techniques or products. Each time you completed all nine squares of the challenge, you would earn a free stamp set! I chose the Falling Flowers stamp set as my Prize Patrol reward. It was so much fun seeing all the different designs everyone came up with for each challenge.
Here is one of my favorite cards that uses the Falling Flowers Stamps. The card features a fun fold that creates a stand alone card to showcases the focal point of the card. I love the geometric layout of the card with the flowers being added to soften the look. If you love layering, this is the card for you!
Here is tutorial and live video that I did on my Facebook page.
Cut List
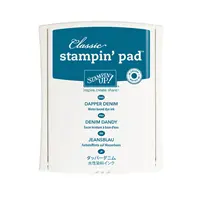
Dapper Denim Base & Mats:
- Card Base: (1) 5 1/2" x
8 1/2"
- Large Square Mat: (1) 3
1/2" x 3 1/2"
- Small Square Mat: (1) 2
1/4" x 2 1/4
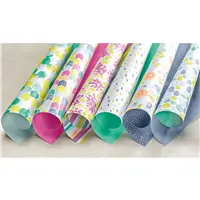
Naturally Eclectic DSP:
Pattern A (Whisper
White background with colored splotches):
- (2) 1 3/4" x 5
1/4"
- (1) 3 1/2" x 3
1/2"
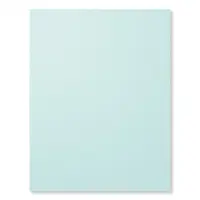
Pattern B (Soft Sky
background with white crosses):
- (1) 2" x 5 1/4"
- (1) 2" x 2"
Whisper White Thick Cardstock Floral Images:
- Strip: 2 1/2" x
11"
Sentiment:
- Soft Sky CS Strip: 1/2"
x 2 1/2"
- Vellum Strip: 5/8" x 2
1/2"
- Green Glimmer Paper Strip:
1/2" x 2 1/2"
Instructions
Floral Images:
- Rub the embossing buddy over
the entire surface of the strip of Whisper White Cardstock.
- Using Versamark ink stamp
the following images along the strip of paper, largest flower (1),
flower with pointed petals (2), smallest flower (1), leaf sprig (1), buds
(1). Be sure to leave a little space around each one so coloring
does not overlap.
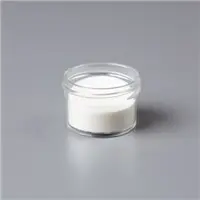
- Sprinkle with clear heat
embossing powder and emboss with heat tool.
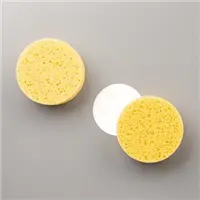
- Using sponges, color the
images with ink. In the example, the largest flower and smallest flower
are colored with Dapper Denim, the flowers with pointed petals are
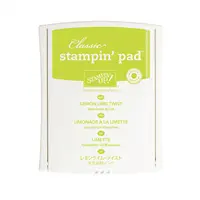
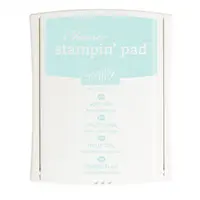
colored with Pool Party, and the leaves and buds are colored with Lemon
Lime Twist.
- Using paper snips, fussy cut
the images. Note that the images also coordinate with the May Flowers
framelits, however, I chose to fussy cut so the edges of the images would
be white.
- Use a slightly damp paper
towel or baby wipe to remove any ink on the embossing.
Card Assembly
Base:
- With the 8 1/2" side along the top of your Simply Scored board, score the card base at 2", 3 1/8", 5 3/8", and 6 1/2".
- Use your favorite Stampin' Up! adhesive to adhere your DSP to your mats.
- Fold on score lines in Valley, Mountain, Mountain, Valley Order.
- Adhere the large square mat to the center panel of the card base using Stampin' Dimensionals. To help with centering, the mat should be placed 1" from the top with approximately 5/8" of overhang on each side of the center panel.
Focal Point:
- Next, adhere the leaf to the
lower left corner of the large square mat. It should hang
over the corner, but make sure that it does not come down lower than the card base - Now place the flowers with pointed petals on either side of the leaf sprig, one under the leaves and one over. Pop one up on dimensionals, the other should be adhered under the leaves directly on the large square mat. See photo of example for reference.
- Place Stampin’ Dimensionals on the back side of the small mat and center over the large mat.
- Place largest flower over lower left corner of small mat and pop it up on Dimensionals.
- Tuck the buds to the upper left of the large flower and adhere to large square mat.
- Tuck smallest flower under large flower to the lower right. Place it slightly over flower with pointy petals and glue it to the large square mat.
- Cut the end of strip of Soft Sky cardstock at an angle. Use this as a guide to cut the ends of the vellum and glimmer strips.
- Stamp a small sentiment in Dapper Denim ink on the strip of Soft Sky strip. Layer in this order, Soft Sky strip, green glimmer strip slightly lower, and vellum strip behind both slightly higher.
Here is the video. This is only my second video (live or otherwise) and I would love it if you would provide some constructive feedback in the comments below. I promise I will get better!








No comments