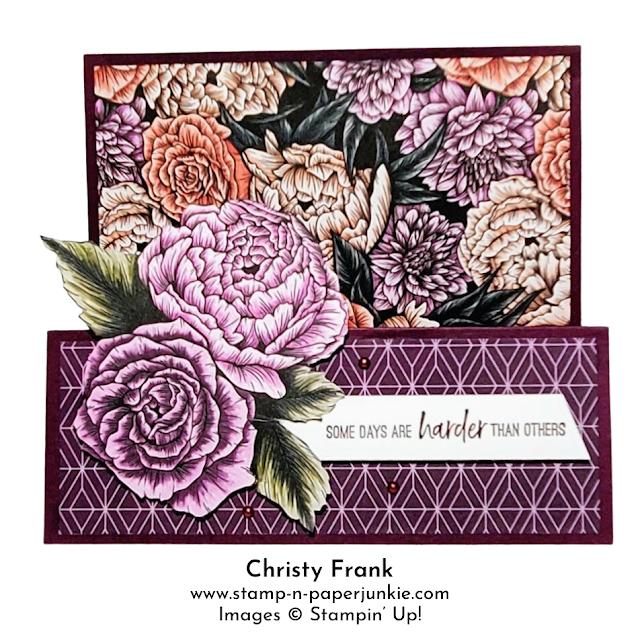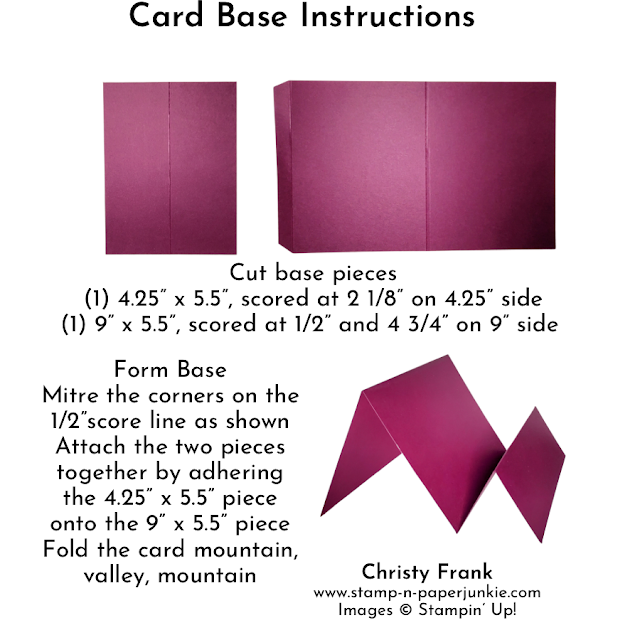
Welcome to the Luv 2 Stamp Group’s 2022 Blog Hop! We are excited to share projects with you again this year. We hope to inspire you to create beautiful new projects. Each month we will have a different theme based on the next month’s celebrations using Stampin’ Up! products.
Once you are done with each post, scroll down to the bottom
and you will see a list of Blog Hop participants, you can click on their name
to go to their post, or you can click the next button to go to the next post in
line. Happy crafting! This month’s theme is Easter.
I had a little problem making this card! I decided that I
wanted to do a double Z fold and when my design was done, the Happy Easter
greeting was too long and I did not like how it fit. I decided that I would
perform stamp surgery and cut the greeting to make two stamps. This would have
been perfect except I dropped the Easter half and my little puppy Dolce got it.
I didn’t even realize this until I saw her chewing something and got it out of
her mouth. Thankfully she was ok, but my stamp was not! I wish I had taken a
picture of it, but I was so upset that I tossed it before I even thought about
it!
The Heart & Home DSP has a vintage look that I adore. When I saw the Easter Friends stamp set I knew that I wanted to use it with the Heart & Home paper to make a sweet, vintage card for Easter.
When picking the paper, I wanted to use one of the wood
grain prints. To give it some color, I used a blending brush and Sahara Sand
ink. This gave the perfect look of distressed wood.
Measurements:
Main Card Base
- Sahara Sand 5 1/2 x 8 1/2, scored
at 2 1/8 and 4 ¼
- Floral DSP 1 7/8 x 5 ¼
- Wood Grain DSP 4 x 5 1/4
Small Z fold
- Fresh Freesia 3 3/4 x 6 1/4,
scored at 2 1/8 and 4 ¼
- Floral DSP 1 7/8 x 3 ½
- Basic White 1 7/8 x 3 1/2
Bunny
Assembly:
- Adhere the floral DSP and Wood Grain DSP to the Sahara Sand
card base. The floral DSP goes on the left panel and the Wood Grain DSP goes on
the right panel, leave the center panel blank. Fold the card mountain on the
first score line and valley on the next.
- Adhere the floral DSP and Basic White cardstock to the Fresh
Freesia small Z fold piece. The floral DSP goes on the left panel and the Basic
White cardstock goes on the right panel, leave the center panel blank. Fold the
card mountain on the first score line and valley on the next.
- Attach the small Z fold to the card base, centering the
small rectangle top and bottom. Rather than centering left to right, I decided
to slightly offset the front to show more of the floral DSP on the left front
panel. To attach the two panels, I put the pieces together and put liquid glue
on the edge of the front flap of the small Z fold and attach that first. Then I
use liquid glue applied to back of the small Z fold and attach that.

- I stamped the bunny in basic gray and used Wink of Stella to
blend and soften the lines which also pulls a slight bit of color into the
image. It is hard to capture the shimmer in a photo, but it is the perfect
touch on this sweet bunny. I used dimensionals to attach it to the small Z
fold.
- The bunny just looks like it should be holding something so I fussy cut a small flower from the floral DSP and added a small bow using white baker’s twine. I added pearls in the upper right corner of the back panel and one to the center of the bow.
Thank you so much for hopping along with us today! Jessye is
up next and I know you will love what she has to share!! You can click the next
picture below or click on her name in the list below.
Sharon Lim - CA
Christy Frank – CA →You are here
Jessye Chancey - GA
Laurie Bradshaw - CA
Tammy Civello - CA
Teri West - AK
Sandra Hernandez - GA
Dawn Sander - CA
Danielle D. Diaz - CA
Wendy Varron - MD
Patty Bennett - CA


