The Story Behind the Card...


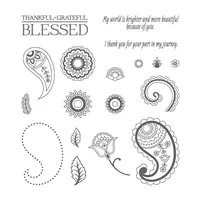
I am always sad to see one of my favorite stamp sets retire. This is especially true for the Paisley and Posies set. I love paisley patterns. This set is so pretty and lends itself to many different designs. When I purchased it I searched ideas for cards on Pinterest and discovered a few ideas that used the stamps to make your own bandana DSP! The designs really spoke to my heart!!

My father used to carry a bandana in the pocket of his jeans every day. It was his redneck handkerchief! He had it at the ready for tears. It also served as a bandage and wiped a few runny noses too. Carrying a handkerchief is a tradition that is from another era. One that, like aprons, has fallen out of practice in our hustle and bustle world. I can't help feeling nostalgic every time I see the bandana paisley pattern; I am reminded of my dad and the simple act of caring his bandana represented.

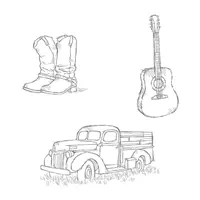
My father also wore boots every day. He had work boots, everyday cowboy boots, and a pair of dress cowboy boots. Aside from a pair of laced dress shoes, I don't think he ever owned anything but boots. When I saw the Country Livin' set, I had to have it because of the boots!  Fortunately, this set will is returning in the new catalog!!

While my card design may be appear to be intended for a rancher, horseman, or cowboy, it was actually inspired by a country farm boy that grew up to be a hard working plumber who loved living a simple small town life, and whenever possible spending time hunting, fishing and just enjoying nature.


Are any of your favorite stamps retiring?  Check my shop and get yours today before they are gone.

Which stamp sets are you sad to see on the retiring list? Leave me a comment and tell me which one you will miss and why. I love to hear what it is about a stamp that inspires people!


Instructions:


Cut List: 
  • Card base - Basic Black 5 ½” x 8 ½”, scored at 4 ¼”
  • Background - Cherry Cobbler 4" X 5 ¼”
  • Basic Black CS - 3" square for circle mat
  • Watercolor Paper - 2 ¾” square for boots
  • Strip of Wood DSP – 5/8” x 5 ¼”
Stamping/Inking/Coloring:
  • Paisley images stamped Basic Black Archival ink in random pattern on Cherry Cobbler CS
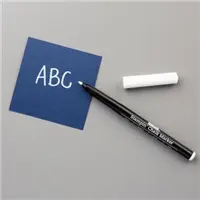
  • Used White Gel Pen to accent Paisley
  • Country Livin’ boot image stamped in Basic Black Archival
  • Colored with an Aqua Painter using Soft Suede for the Boots, a mix of Soft Suede and Basic Gray for boot sole and heel and Smoky Slate to shade under boot
  • Truly Tailored Dad sentiment and cravat icon stamped in Basic Black Archival on wood DSP strip
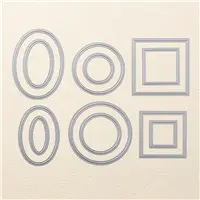
  • Soft Suede ink dabbed on stitches of the stitched circle die before die cutting the boot image
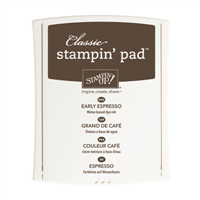
  • Wood DSP inked around edges lightly with Early Espresso
Assembly:
  • Adhere Wood DSP strip to paisley background about 3/4" from top using snail
  • Adhere paisley background to card base using dimensionals
  • Adhere boots to black mat using snail
  • Adhere assembled boot to card using dimensionals
Embellish:
  • Loop Linen Thread 3-4 times and tie a single knot to form a lasso
  • Attach lasso to card using glue dots
Falling Flowers Stand Alone Card


Falling Flowers Stand Alone Card

In January our team participated in a Prize Patrol tic-tac-toe challenge where we had to create a card or project that used specific techniques or products.  Each time you completed all nine squares of the challenge, you would earn a free stamp set!  I chose the Falling Flowers stamp set as my Prize Patrol reward.  It was so much fun seeing all the different designs everyone came up with for each challenge.

Here is one of my favorite cards that uses the Falling Flowers Stamps.  The card features a fun fold that creates a stand alone card to showcases the focal point of the card.  I love the geometric layout of the card with the flowers being added to soften the look.  If you love layering, this is the card for you!

Here is tutorial and live video that I did on my Facebook page.


Cut List
Dapper Denim Base & Mats:
  • Card Base: (1) 5 1/2" x 8 1/2"
  • Large Square Mat: (1) 3 1/2" x 3 1/2"
  • Small Square Mat: (1) 2 1/4" x 2 1/4

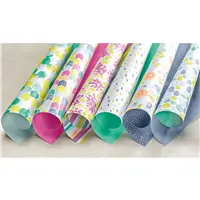
Naturally Eclectic DSP:
Pattern A (Whisper White background with colored splotches):
  • (2) 1 3/4" x 5 1/4"
  • (1) 3 1/2" x 3 1/2"
Pattern B (Soft Sky background with white crosses):
  • (1) 2" x 5 1/4"
  • (1) 2" x 2"

Whisper White Thick Cardstock Floral Images:
  • Strip: 2 1/2" x 11"

Sentiment:
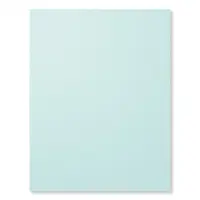
  • Soft Sky CS Strip: 1/2" x 2 1/2"
  • Vellum Strip: 5/8" x 2 1/2"
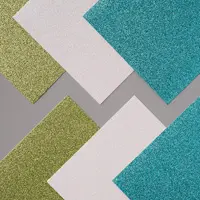
  • Green Glimmer Paper Strip: 1/2" x 2 1/2"
   

Instructions
Floral Images:
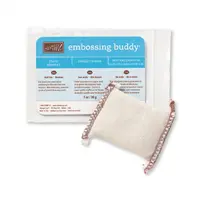
  1. Rub the embossing buddy over the entire surface of the strip of Whisper White Cardstock.
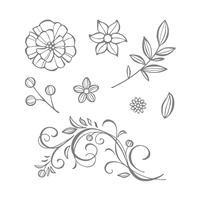
  2. Using Versamark ink stamp the following images along the strip of paper, largest flower (1), flower with pointed petals (2), smallest flower (1), leaf sprig (1), buds (1).  Be sure to leave a little space around each one so coloring does not overlap.
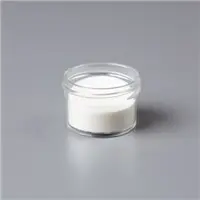
  3. Sprinkle with clear heat embossing powder and emboss with heat tool.
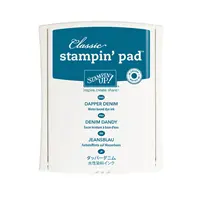
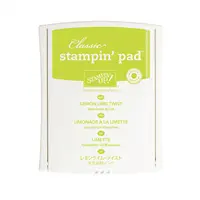
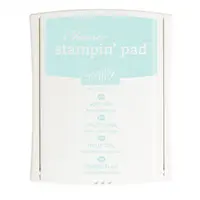
  4. Using sponges, color the images with ink. In the example, the largest flower and smallest flower are colored with Dapper Denim, the flowers with pointed petals are colored with Pool Party, and the leaves and buds are colored with Lemon Lime Twist.
  5. Using paper snips, fussy cut the images. Note that the images also coordinate with the May Flowers framelits, however, I chose to fussy cut so the edges of the images would be white.
  6. Use a slightly damp paper towel or baby wipe to remove any ink on the embossing.


Card Assembly

Base:
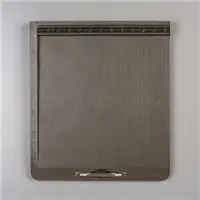
  1. With the 8 1/2" side along the top of your Simply Scored board, score the card base at 2", 3 1/8", 5 3/8", and 6 1/2".
  2. Use your favorite Stampin' Up! adhesive to adhere your DSP to your mats.
  3. Fold on score lines in Valley, Mountain, Mountain, Valley Order.
  4. Adhere the large square mat to the center panel of the card base using Stampin' Dimensionals.  To help with centering, the mat should be placed 1" from the top with approximately 5/8" of overhang on each side of the center panel.


Focal Point:


  1. Next, adhere the leaf to the lower left corner of the large square mat. It should hang
    over the corner, but make sure that it does not come down lower than the card base
  2. Now place the flowers with pointed petals on either side of the leaf sprig, one under the leaves and one over. Pop one up on dimensionals, the other should be adhered under the leaves directly on the large square mat. See photo of example for reference.
  3. Place Stampin’ Dimensionals on the back side of the small mat and center over the large mat.
  4. Place largest flower over lower left corner of small mat and pop it up on Dimensionals.
  5. Tuck the buds to the upper left of the large flower and adhere to large square mat.
  6. Tuck smallest flower under large flower to the lower right. Place it slightly over flower with pointy petals and glue it to the large square mat.
  7. Cut the end of strip of Soft Sky cardstock at an angle. Use this as a guide to cut the ends of the vellum and glimmer strips.
  8. Stamp a small sentiment in Dapper Denim ink on the strip of Soft Sky strip. Layer in this order, Soft Sky strip, green glimmer strip slightly lower, and vellum strip behind both slightly higher.


Here is the video.  This is only my second video (live or otherwise) and I would love it if you would provide some constructive feedback in the comments below.  I promise I will get better!


Price: $10.00